 TechOceanhub
TechOceanhub
TechOceanhub
1)First, before downloading WordPress we have to download the WAMP server for that we have to use the link below.
https://sourceforge.net/projects/wampserver/
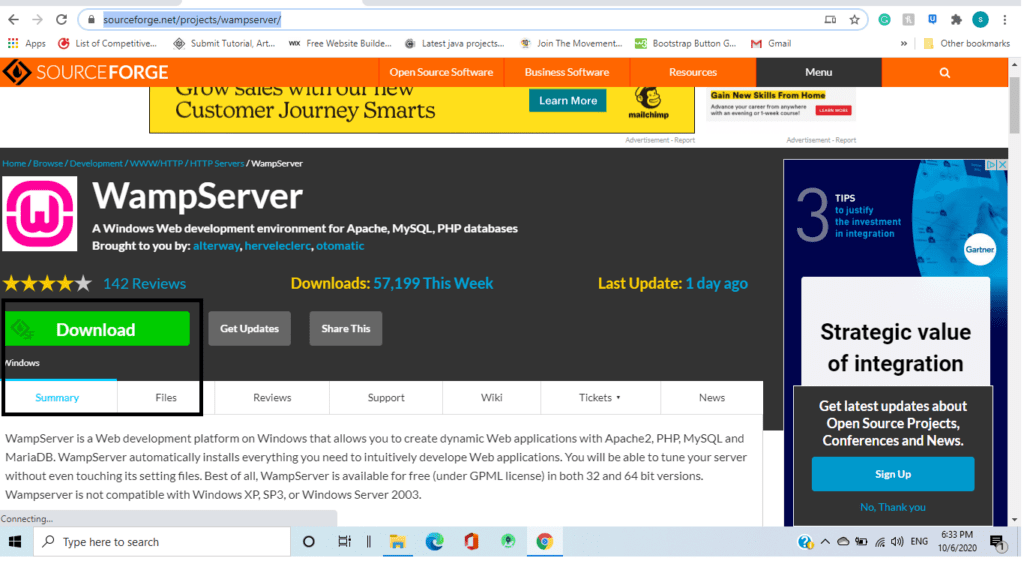
Some people will confuse about what is this WAMP? WAMP is nothing but a combo pack of PHP MySQL and apache. When you are downloading WAMP, you are also downloading them(PHP, MySql and Apache). You can choose any location of your choice for Wamp.

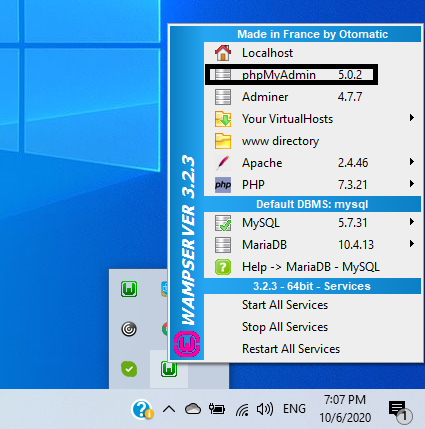
2)After downloading the wamp server launch it. Wamp icon on the bottom right corner of your pc will be displayed if it is not green then the wamp server is not active. Click twice to make it active. Then click on the wamp icon and click on phpMyAdmin.
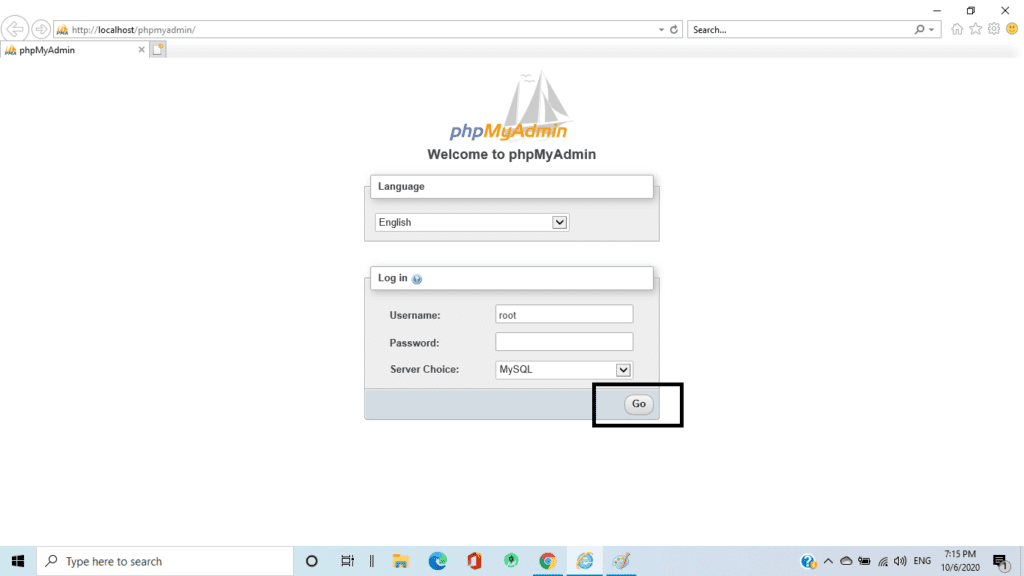
3)And when that screen appears put username as root(Default credentials to login into localhost phpMyAdmin) and click on the go button.
After clicking the Go button you will find the icon in the upper-left corner having an option of database creation. Click on that create a database and give a name of your choice and click create.
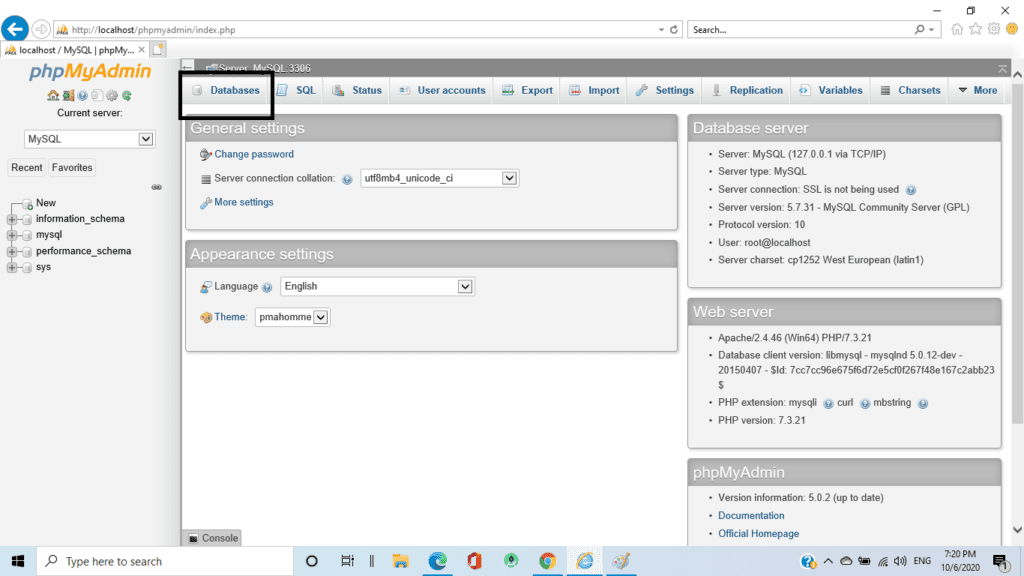
I have named my database as test.
4)After creating the database we are now ready to download WordPress from this link
https://wordpress.org/
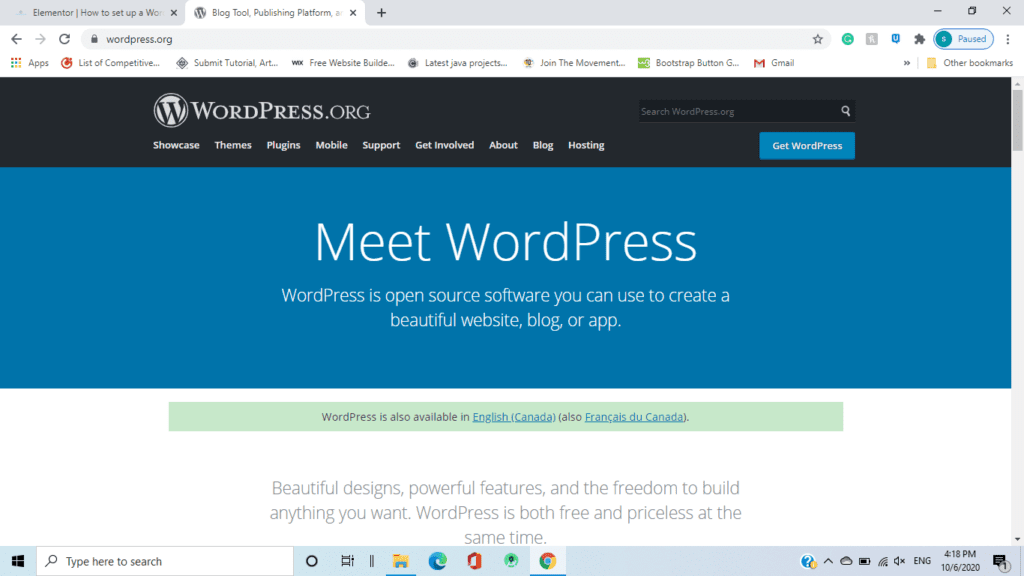
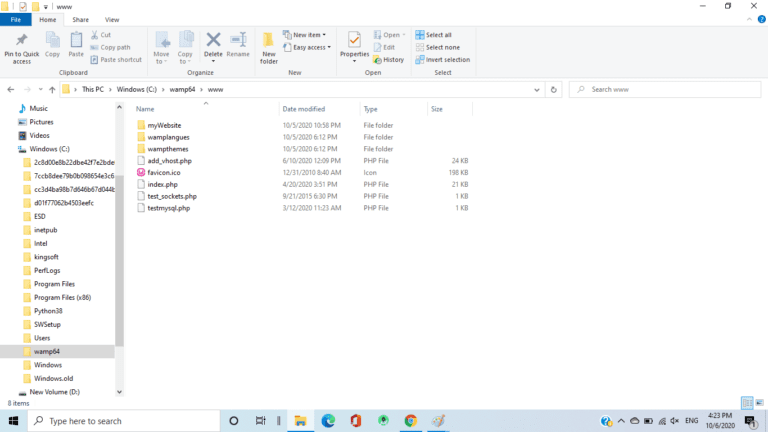
After downloading a copy the extracted WordPress folder paste it inside the www folder, which will look like below.
wamp64www
It is where you have installed the wamp folder and inside www subfolder.
You can rename this WordPress folder with any name you want as your project name. I have named it as myWebsite.
5)Then type http://localhost/myWebsite/ on the browser and press enter and you will find language to choose and after selecting next screen will be below which we want. Click on the Let’s go button

6)Press let’s go button and type in the database name, username, password, host and table prefix.
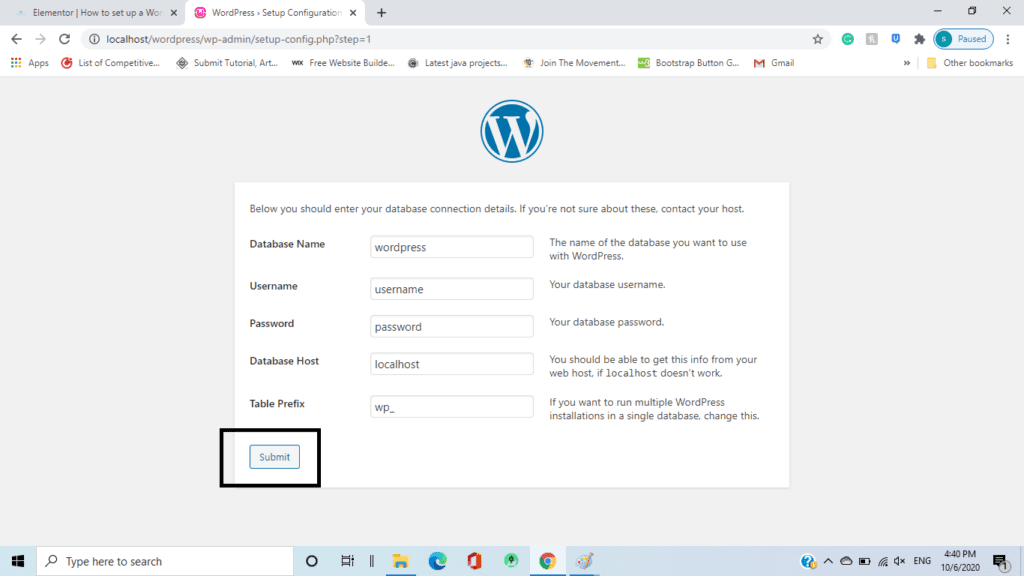
7)The database name will be the one you have created before
and the username as root and host as localhost and after submitting details, you will see the message something like below.
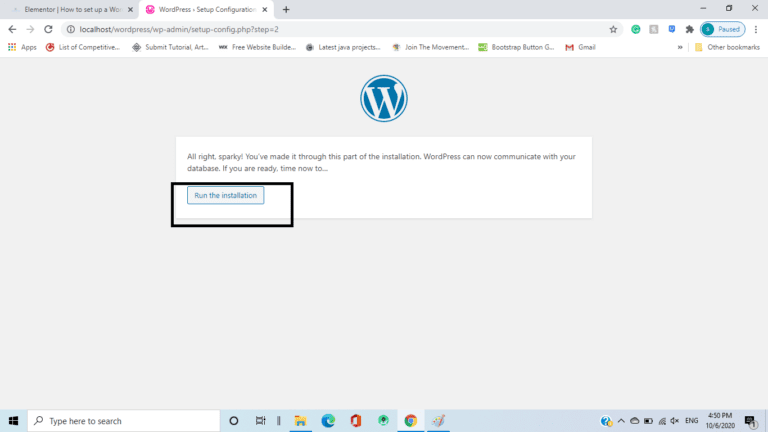
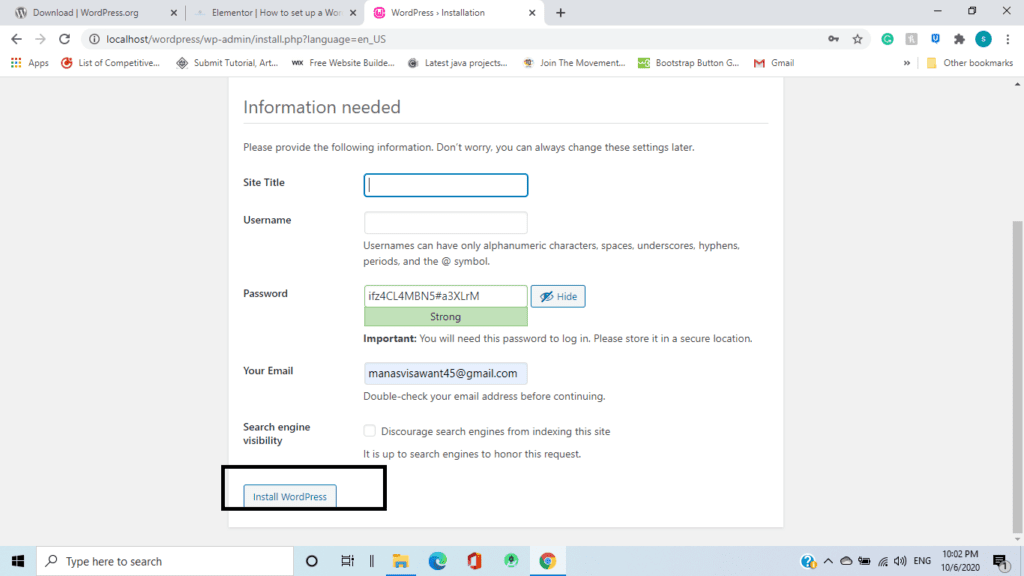
8)then install your WordPress by typing the details:-
1)site title
2)username
3)password
4)email
then click on install WordPress.
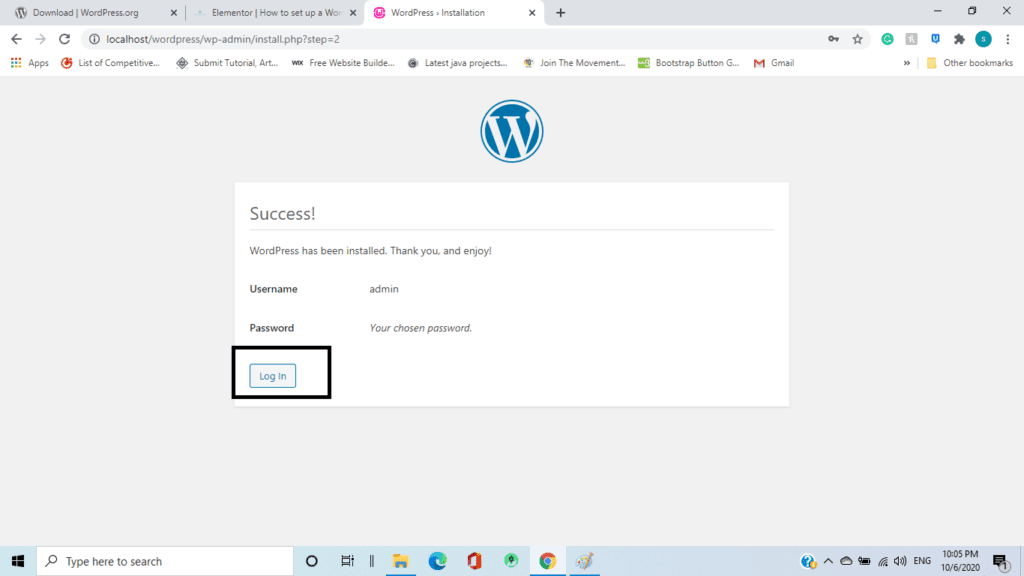
9)After clicking install we will find the below screen and click on login button.
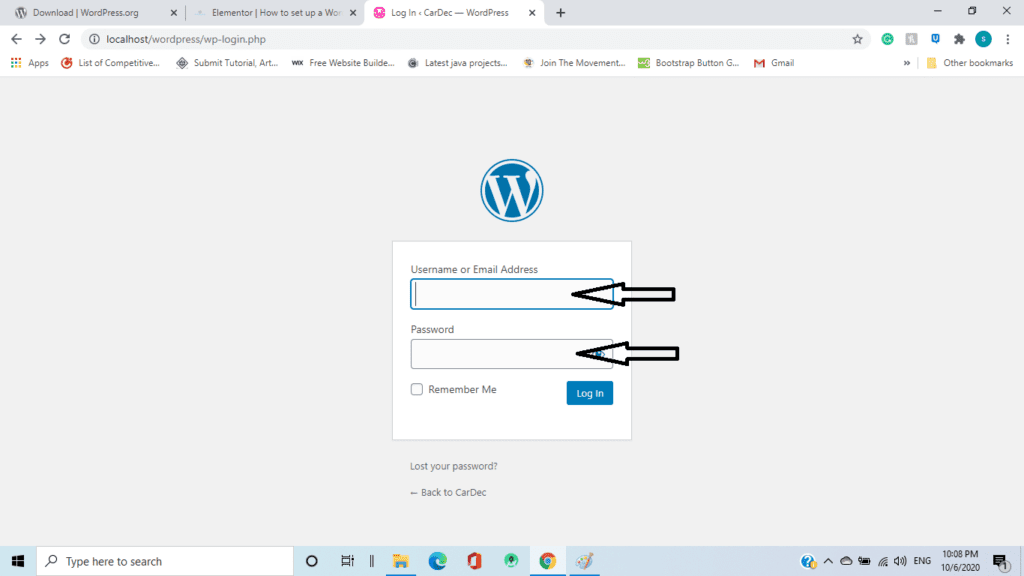
10)After clicking on log in button below screen for filling details will appear.
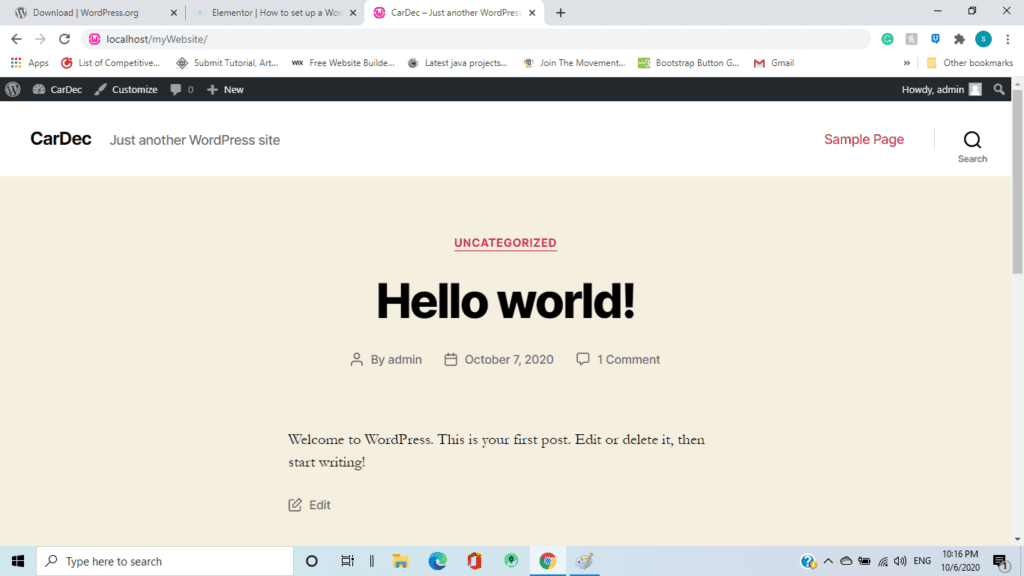
11)After filling details your site will somewhat look like the below screen.
Feel free to comment and try these steps to download and install WordPress.
Copyright ©TechOceanhub All Rights Reserved.